Installation of owncloud on Ubuntu server 14.04 using NOIP:
This guide will ride you for the step by step installation of own private cloud with ownCloud platform on an Ubuntu server. You can follow the guide for installation on Windows, Mac or Linux.
I’ve been a while using owncloud and point the user experience they offer me is charming, so today I will show a step by step guide on how to build your own cloud with ownCloud on a server Ubuntu 14.04.
For those who do not know it yet, ownCloud is a cloud with which you can synchronize files, calendar, contacts, notes and more through extensions such as bookmarks and sync data with your web browser. It’s free, open source and has application for Android, iOS and desktop client for Linux, Windows and Mac OS X.
Installation of NOIP on Ubuntu 14.04:
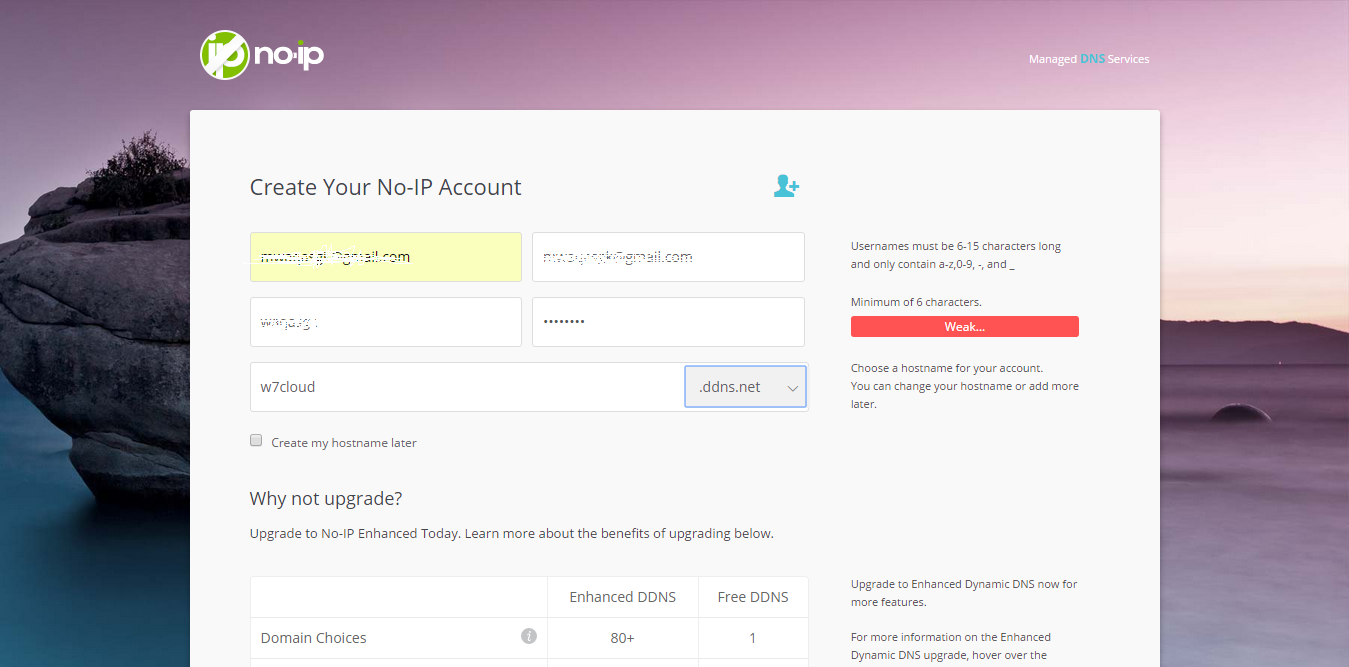
NOIP is a free dynamic DNS service which will replace your owncloud IP web address to your define domain name. You can download and install noip from its official website. Go to NOIP.com and sign up for new user, which is simple like the other sign ups. One important thing that you need to define here is web address of your dynamic web server. (Which you will use for accessing you owncloud.)
Complete the sign up then next step is to install the NOIP update client, for this you can go through the following commands and run one by one in Ubuntu terminal:
sudo -s (it will ask for user/password)
cd /usr/local/src/
wget http://www.no-ip.com/client/linux/noip-duc-linux.tar.gz
tar xf noip-duc-linux.tar.gz
cd noip-2.1.9-1/
make install
To Configure the Client (optional)
/usr/local/bin/noip2 -C (dash capital C, this will create the default config file)
Next step is to enable the port forwarding. Port forwarding forward the any request coming from out of network to specific system, in our case this will be our OWNCLOUD server so that we can access it from anywhere. Sign into your DSL router and find the option “port-forward” and then add the IP address of your OWNCLOUD server as port forward. You can refer to your router guide in case of any trouble in configuring port-forwarding.
Installation OF owncloud 8 on Ubuntu 14.04:
Download owncloud from owncloud.org. then use the following commands for installation of owncloud 8 on Ubuntu 14.04. Open the terminal in Ubuntu & then paste the following commands one by one into terminal.
sudo sh -c “echo ‘deb http://download.opensuse.org/repositories/isv:/ownCloud:/community/xUbuntu_14.04/ /’ >> /etc/apt/sources.list.d/owncloud.list”
wget http://download.opensuse.org/repositories/isv:ownCloud:community/xUbuntu_14.04/Release.key
sudo apt-key add – < Release.key
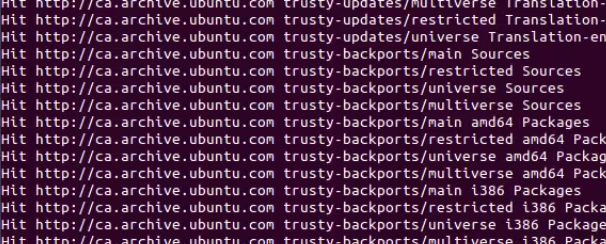
sudo apt-get update
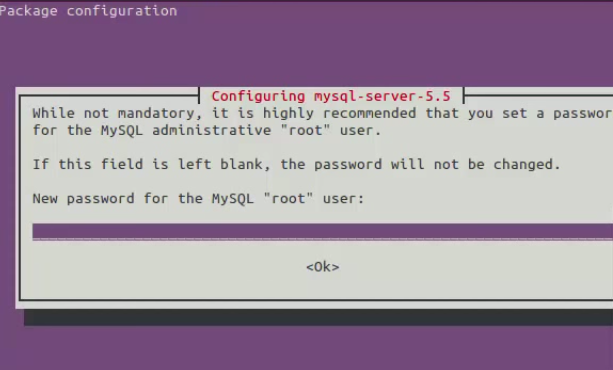
sudo apt-get install owncloud
This will start installing owncloud
During the installation it will ask for SQL root password, set the root user password.
Once the installation is complete, open the owncloud by using the URL in web browser with following formate:
http://w7cloud.ddns.net\owncloud
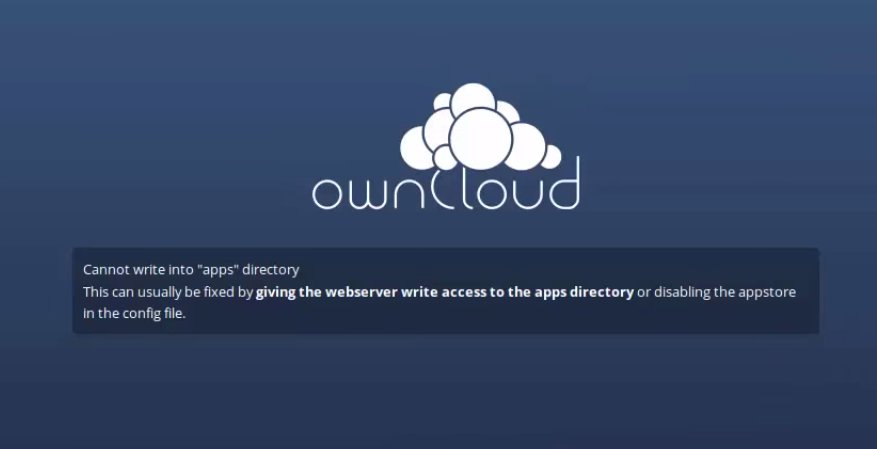
where http://w7cloud.ddns.net is the dynamic DNS which we have created in NOIP installation, you can replace it with your address. When you access your owncloud first you may got the error message “Cannot write into apps directory” you can resolve the error message with by visiting link.
Once you fix it, fresh your page it will lead you to admin user page, create an administrator account, and complete all the following fields:
- Owncloud user + password
- user + password (database)
- localhost
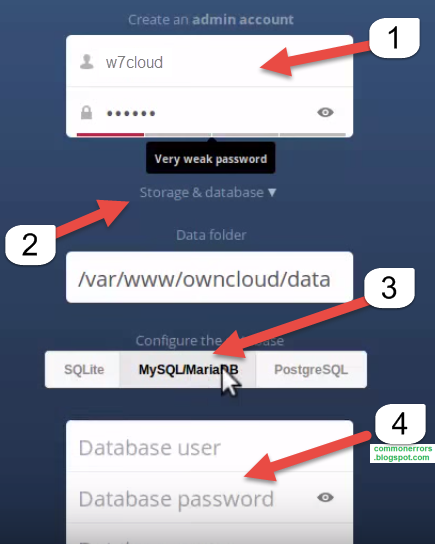
Finally, we will click on to complete the installation. Login with user name & password that you have created in the previous step.
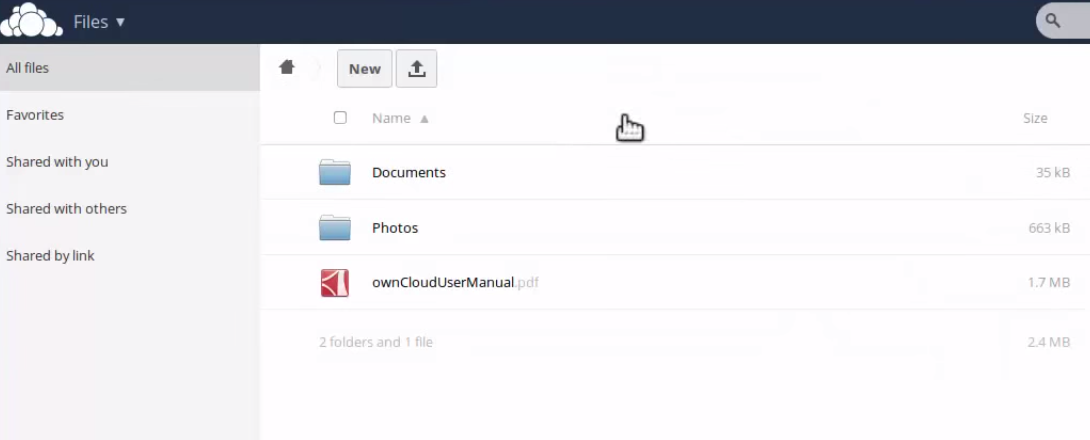
Upon entering we give links to install the applications for smartphone and the desktop client. With this we have managed to create our own cloud. It was a tough process, but I think it was worth it to be the real owners of our data.
I hope you have served this guide, I am very happy with ownCloud and am synchronizing files, calendar and contacts.